Siding Installation on a Budget: A DIY Guide

Achieve a Professional Look Without Overspending
Siding installation is one of the most effective ways to protect and enhance the appearance of your home. While hiring professionals can be costly, homeowners can achieve professional results through a well-planned DIY siding installation. This step-by-step guide will walk you through the process while keeping costs low. (Learn more about siding installation here.)
Step 1: Choose the Right Siding Material
Selecting the best siding for your home is critical to balancing cost and durability. Here are some budget-friendly options:
Vinyl Siding: Affordable, low-maintenance, and available in multiple styles.
Fiber Cement: Slightly more expensive but highly durable and fire-resistant.
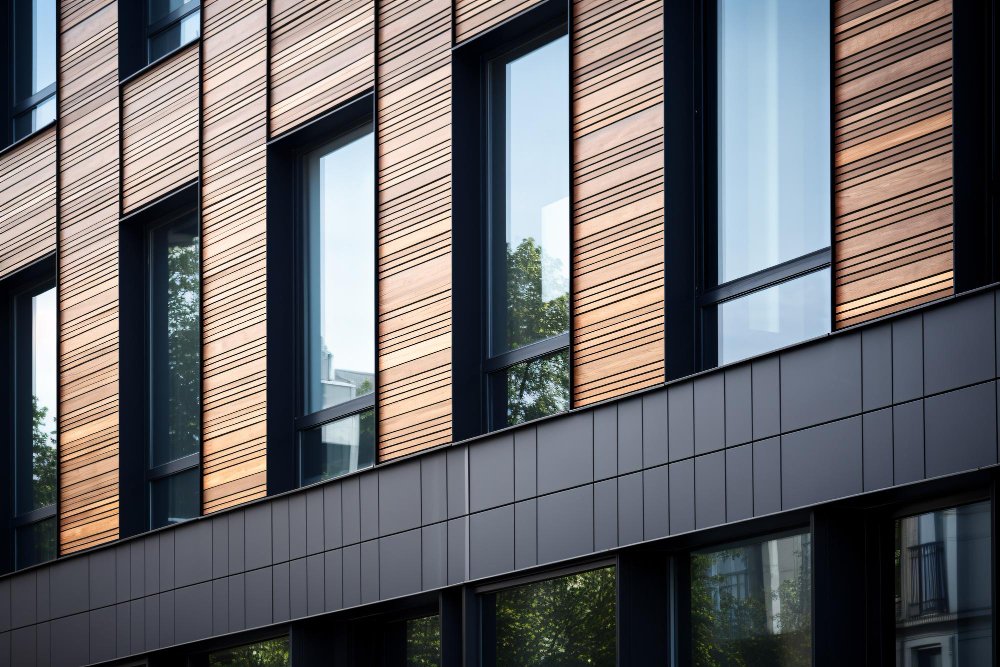
Engineered Wood: A natural look at a lower cost than traditional wood siding.
Aluminum Siding: Lightweight, rust-resistant, and relatively inexpensive..
Step 2: Gather Necessary Tools and Materials
Before starting your project, ensure you have the following:
✔️ Measuring tape
✔️ Level and chalk line
✔️ Circular saw (with fine-tooth blade)
✔️ Utility knife
✔️ Hammer or nail gun
✔️ Siding panels and fasteners
✔️ House wrap and flashing tape (for weatherproofing)
Step 3: Prepare the Exterior Surface
- Remove any old siding or damaged materials.
- Inspect and repair any rotted wood or damaged sheathing.
- Apply house wrap to protect against moisture and improve insulation.
- Secure flashing tape around windows and doors to prevent water infiltration.
Step 4: Install the Starter Strip and Corner Posts
Secure the starter strip 1 inch above the ground to prevent moisture damage.
Snap a chalk line at the base of the exterior wall to guide the starter strip placement.
Attach corner posts at every external edge of your home, ensuring they are plumb.


Step 5: Attach the Siding Panels
- Begin at the bottom and work your way up, locking each panel into the one below it.
- Use nails or fasteners, leaving 1/16-inch gaps for expansion and contraction.
- Cut siding panels carefully to fit around windows, doors, and fixtures.
Step 6: Install Trim and Finishing Touches
Install J-channel trim around doors, windows, and eaves for a polished look.
Secure soffit and fascia to protect the roofline and improve ventilation.
Perform a final check to ensure all panels are secured and properly aligned.
Read More in Your Realm of Remodels Blog
- The Ultimate Guide to Choosing a Residential Remodeling Contractor in Coeur d’Alene Junction ID
 Discover expert tips for selecting the right Residential Remodeling Contractor in Coeur d’Alene Junction ID.
 - How to Choose the Best Kitchen Cabinet Installation Contractor in Kootenai ID
 Discover how cabinet installation in Kootenai ID improves design and storage.
 - The Complete Guide to Integrated Gas Burner Installation in Garwood ID
 Discover how Integrated Gas Burner Installation Contractor in Garwood ID improves kitchen performance and design.
Step 7: Clean Up and Inspect Your Work
- Remove excess materials and dispose of debris responsibly.
- Inspect for loose panels, gaps, or misaligned pieces.
- Wash the new siding with a mild detergent to remove dust and fingerprints.
Final Thoughts: A Cost-Effective Home Upgrade
By following these steps, you can successfully complete a DIY siding installation without exceeding your budget. Proper preparation, high-quality materials, and careful attention to detail will ensure a durable and visually appealing finish.
🔍 For more expert insights on siding installation, visit: Siding Installation Guide